|
|

|
|
|
|
Sample Trip
|
 Located
north of Ballarat in the Panamint Mountains, Jail Canyon is a colorful, scenic
drive with a well-preserved mining camp and mill to explore at the end.
Jail Canyon itself is multicolored and very pretty but the scenery getting up
to the canyon is quite spectacular, too. With panoramic views of the multi-layered,
west-facing Panamint Mountains and the striking erosion of nearby Hall Canyon,
you will want to take your time getting to the canyon so you can enjoy the views!
Located
north of Ballarat in the Panamint Mountains, Jail Canyon is a colorful, scenic
drive with a well-preserved mining camp and mill to explore at the end.
Jail Canyon itself is multicolored and very pretty but the scenery getting up
to the canyon is quite spectacular, too. With panoramic views of the multi-layered,
west-facing Panamint Mountains and the striking erosion of nearby Hall Canyon,
you will want to take your time getting to the canyon so you can enjoy the views!
|
|
Extensive remains of the Corona Mine mill |
|
|
Small wetlands area with perennial stream |
|
|
Mining camp cabins |
Be sure to read the trip log for details about where you'll find these places along the way.
|
Difficulty Chart |
|
|
|
Books That We Recommend:
![]() Getting There
Getting There
The easiest way to get to Jail Canyon is from
the pavement of Trona Wildrose Road in Panamint Valley. You can also approach
this canyon via the dirt of Indian Ranch Road from Ballarat.
From the south (Trona): From the County Line, just north of Trona, go 28 miles on Trona Wildrose Road. Just before the intersection with Panamint Valley Road and Wildrose Road, look for the well-graded dirt road on your right. This is Indian Ranch Road. Turn right and see * below for further directions.
From the north (Stovepipe Wells): Go south on S.R. 190 for 27.9 miles and turn left onto Panamint Valley Road. In 13.9 miles, Panamint Valley Road ends as it intersects with Trona Wildrose Road (to the right) and Wildrose Road (to the left). Turn right onto Trona Wildrose Road and go 0.4 miles. Turn left (east) onto the well-graded dirt of Indian Ranch Road. See * below for further directions.
*Once on Indian Ranch Road, go 4.0 miles and turn left onto the road that leads to Jail Canyon. It is easy to miss this turnoff as you cruise down the relatively smooth road of Indian Ranch Road, enjoying the beauty of the Panamint Mountains in front of you, so watch your odometer. From this junction, it is 5.2 miles to the Corona Mine.
The
Road
The route to Jail Canyon takes you up and across the alluvial fan
created by the drainage of Jail Canyon. This makes the road rough and
slow-going in many places and means that the exact route can change slightly
with each rainstorm. Rains and flash-flooding can also have a negative
effect on the two places where the road crosses the main wash so approach them
cautiously.
For the first 3.4 miles, as the road climbs the alluvial fan, it zig-zags through what seems like a maze of washes. At 2.0 miles, you are inside the National Park Boundary. At 3.6 miles, you come to the first of the main wash crossings. Again, use caution and your best judgment here.
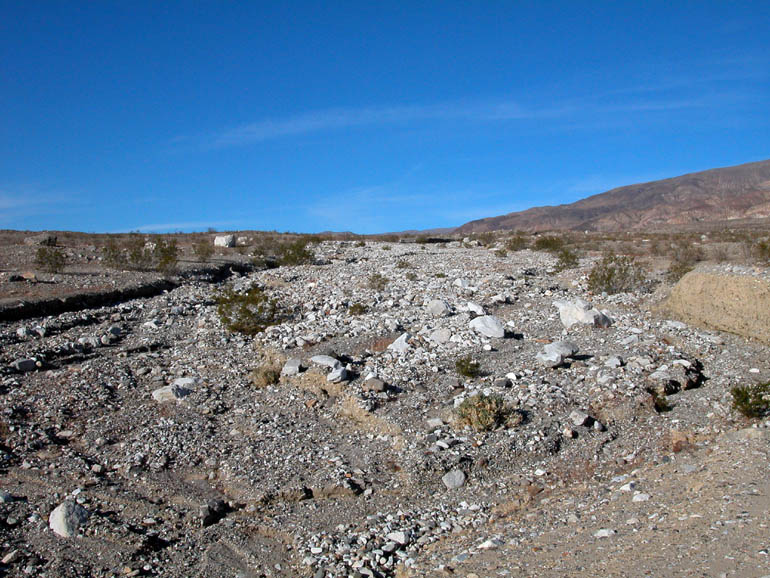
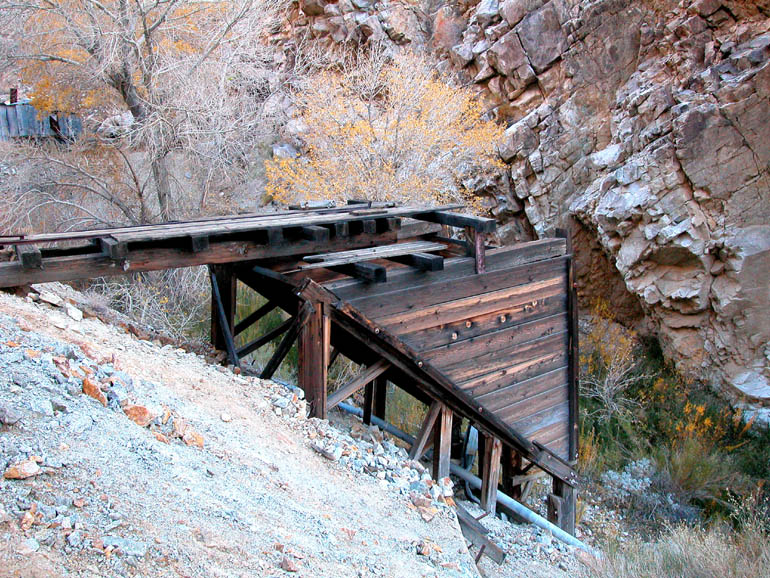
After this crossing, the road enters the canyon and continues up the main wash on the left (north) side of the canyon. Over the years, the many flash floods coming down the canyon have created a deeply eroded wash [see picture]. The road continues up the canyon for another 1.6 miles and ends. About 0.2 mile from the end, the road crosses the main wash for the second time. If you are unable to make this crossing in your vehicle, we recommend that you park here and simply add this short distance to your hike to the mine.
![]() The
Hike
The
Hike
From the road's end, the hike to the mine and mill site is short
(less than 0.5 mile) but it is a little steeper than your average Difficulty
Rating of 2. You may have to walk a bit slower but, overall, it is easy
walking until you get close to the mill site. Some scrambling up a short
embankment is required (Difficulty Level 3) to get to the mill itself but once
up it, the walking is level as you follow the ore car tracks.
Hiking Info:
|
Level of Difficulty:
2 (see
chart) Length: 1 mile round trip |
Elevation
Gain: 350 feet Main Attractions: Extensive old mill workings, cabins, stream |
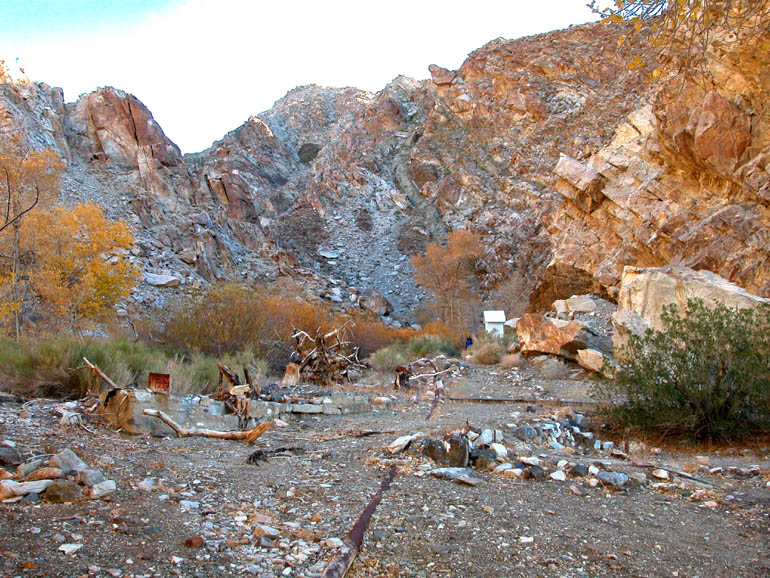
One of the first things you'll see at the end of the road is an old ore crusher [see picture] that was powered by a Chevy engine. This contraption, along with the old truck nearby, was probably used sometime after 1950. Continue past these machines (and the other stuff) and follow the trail leading up-canyon towards a cabin [see picture] and some trees. After the cabin, follow the trail to the right and pass the fairly new outhouse. The trail leads through a wetlands area with lots of vegetation. You will have to cross the stream at least once but there will probably be a log or some rocks to help you walk over it [see picture].
After passing the wetlands area, you will see an ore bin and this is where the hike gets a little more difficult. Scramble up the embankment next to the ore bin and follow the ore car railroad tracks to the right. As you round the hill to the left, you will be surprised with a view of the Corona Mine's mill.
Above the mill and to the right, there are various openings to the mine. We understand that the mines have been caved-in and that there isn't much to see. Remember, old mines can be dangerous places. Be careful and DO NOT ENTER THE TUNNELS. Read Mine Hazards for more information.
A little further up the canyon you'll find more old, rusty equipment and, even further up (about 1.0 mile), you'll find the source of the stream. At one time, Jail Canyon Road continued along the south wall of the canyon and dropped down into the upper reaches of Hall Canyon (south of Jail Canyon). That section of the road climbed 1,000 feet in only a half a mile and held the title of "steepest jeep trail in the Death Valley area". It was closed to vehicles, however, under the 1994 California Desert Protection Act. You can still hike it, though. Just before reaching the Corona Mine, look for the switch-backs on the southern side of the canyon.
History
The purpose of the road up Jail Canyon was to access
the Corona Mine. There isn't much recorded information about this mine
but there must have been a lot of activity based on the different types of equipment
that was left behind. It started its life as the Gem Mine in 1899 and
produced silver, lead and zinc. It was owned by two people - one of was
a storekeeper in nearby Ballarat who supplied the initial investment for a mill
and the other was the the miner who discovered the ore.
The spring in this canyon produced enough water to run a waterwheel that, in turn, powered a three-stamp mill. Quite a rare system for the desert of Death Valley! During the winter of 1899-1900, it was recorded that several thousand dollars worth of ore was shipped from here monthly.
After this initial boom, the mine was worked off and on for many years, until the 1980's. This is evident from the different generations of equipment left at the site. Today, there is still evidence of people occasionally working the mine.
| This video is a summary of what can be read on this page.
Refer to www.YouTube.com |
Photo Tour:
Click on picture to enlarge
Pictures taken: December 2003
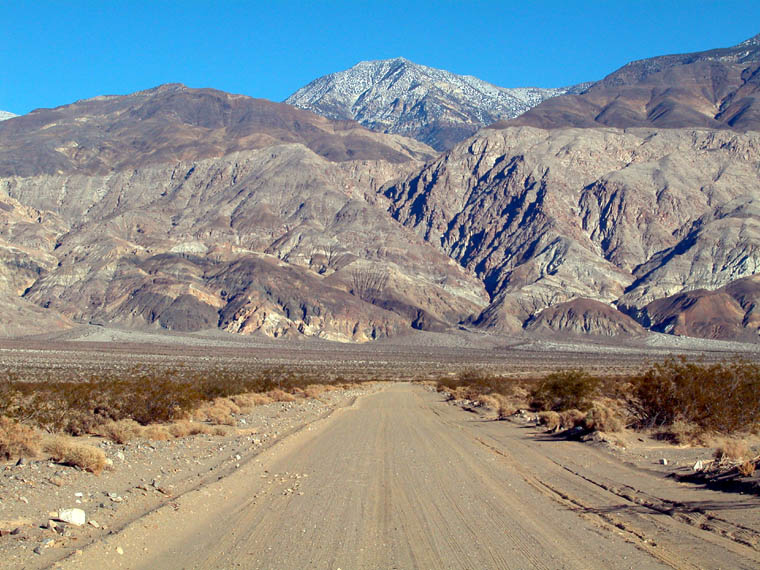 |
Driving eastbound on Indian Ranch Road. Straight ahead of you is the deeply-cut Hall Canyon with Telescope Peak right behind it. | |||
 |
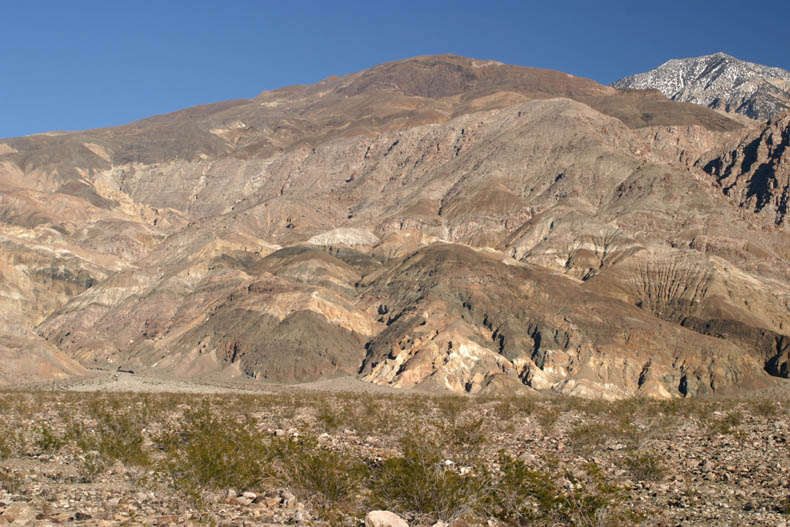
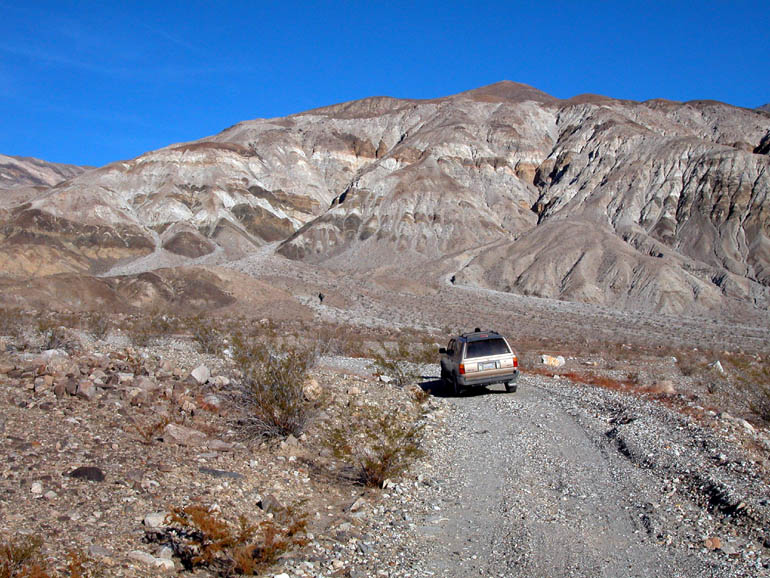
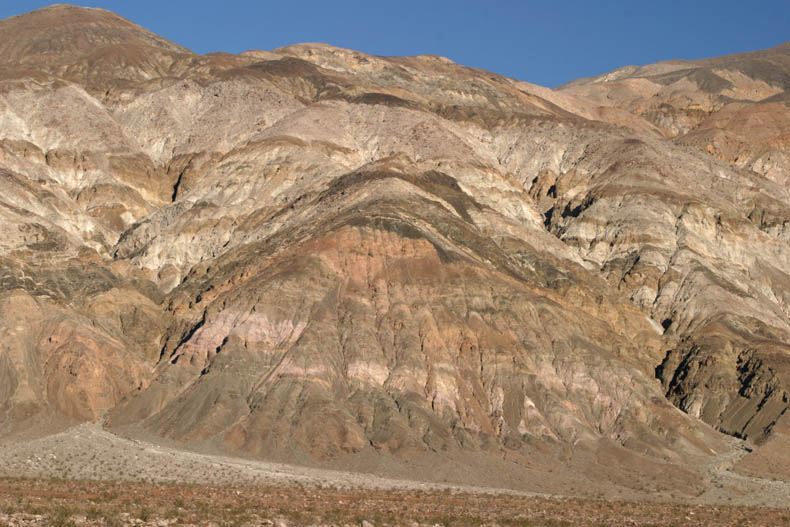
The colorful sedimentary layers of the Panamint Mountains near Jail Canyon. The large alluvial fan below the mountains was formed by run-off from Jail Canyon and the road will cross over it. | |||
 |
Another view of the Panamint's with Telescope Peak in the upper right. | |||
 |
|
|||
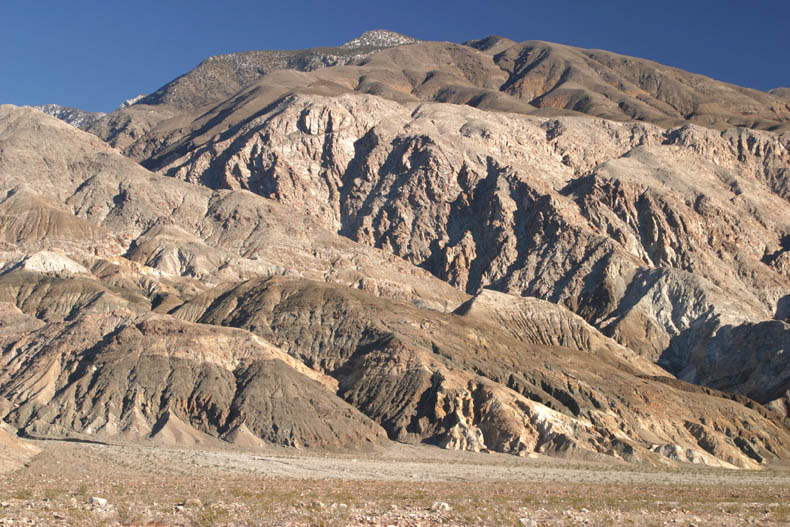 |
Another view of Hall Canyon. We've heard that you can hike this canyon but it is difficult. | |||
 |
The road up to Jail Canyon goes along one of the main debris flows out of the canyon. | |||
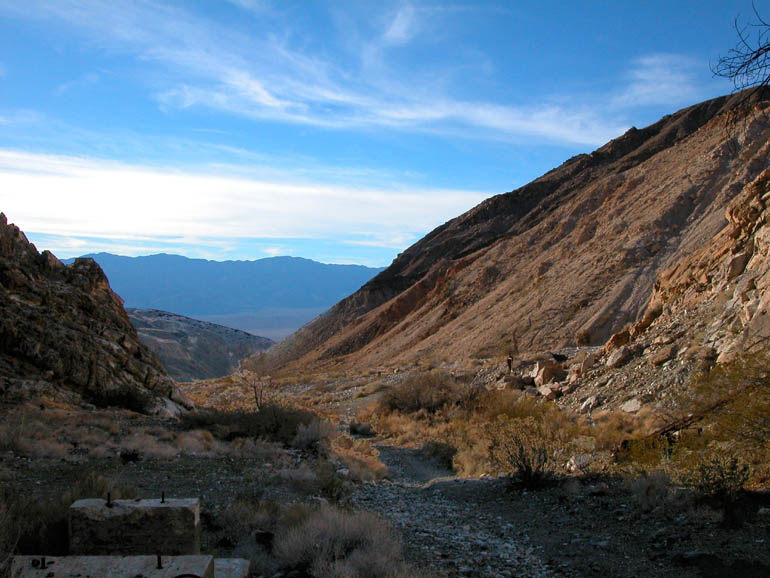
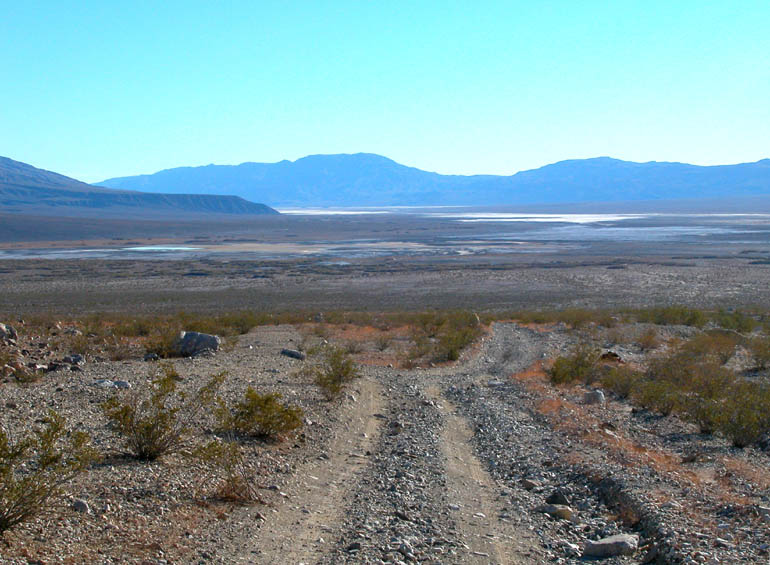 |
Looking back down the road, south, towards the playa in Panamint Valley. | |||
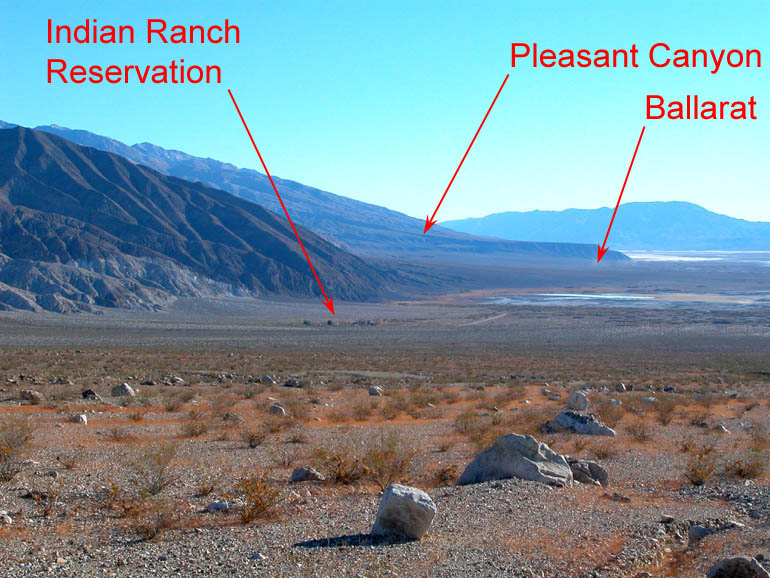 |
View to the south includes some familiar Panamint Valley landmarks. | |||
 |
The road up to Jail Canyon twists and turns around various debris flows of the alluvial fan. | |||
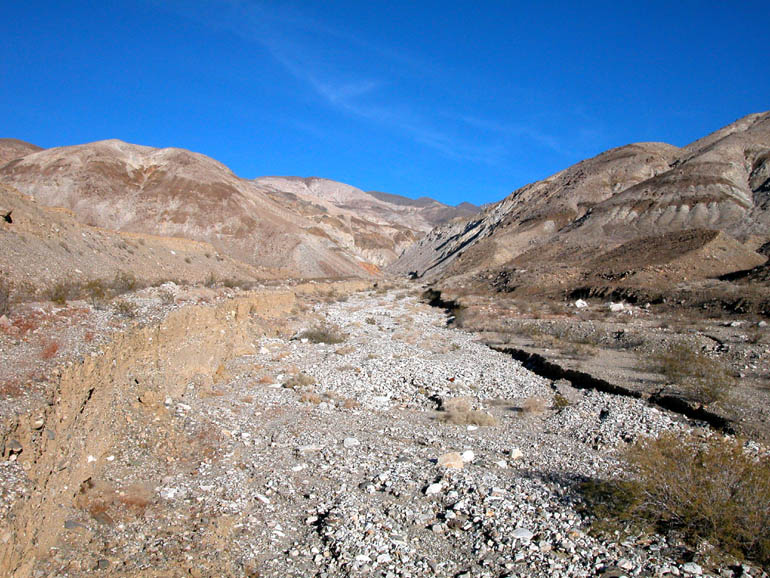 |
After crossing the wash that drains Jail Canyon, the road enters the canyon. Notice how much erosion has taken place on the left side of the wash. | |||
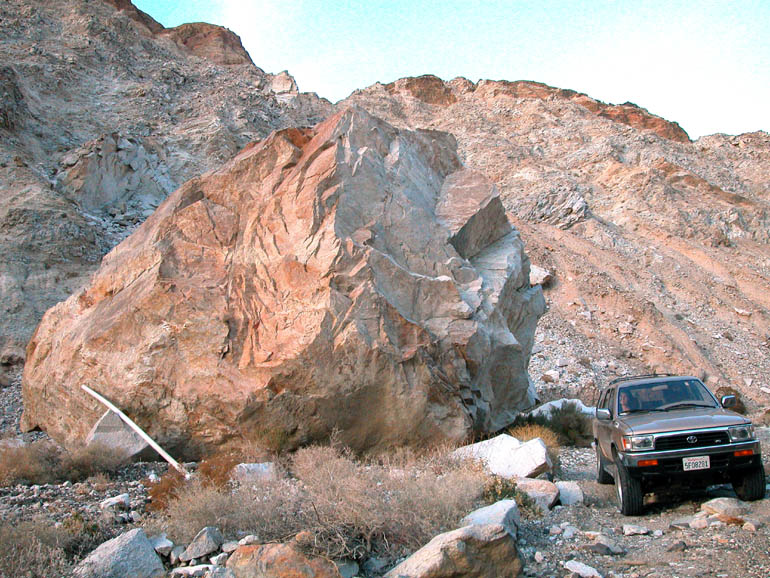 |
This large rock nearly blocks the road. | |||
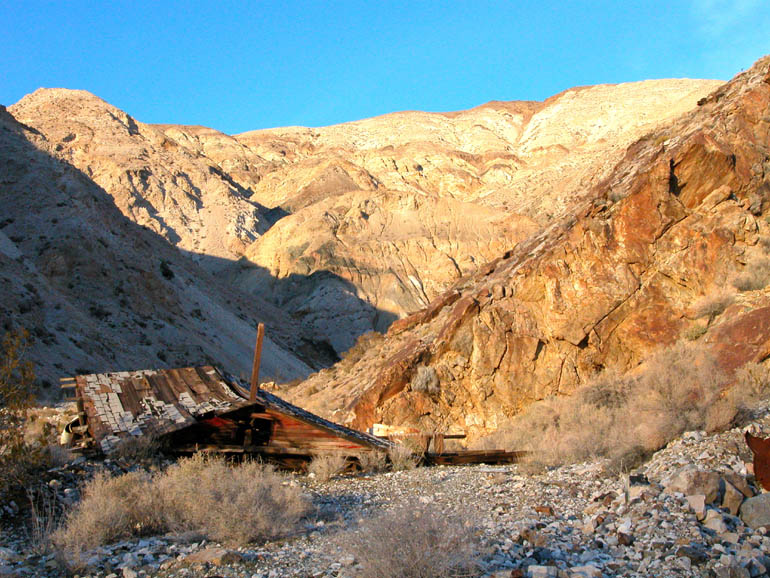 |
This collapsed cabin marks the end of the road. View is to the north as another canyon branches off. | |||
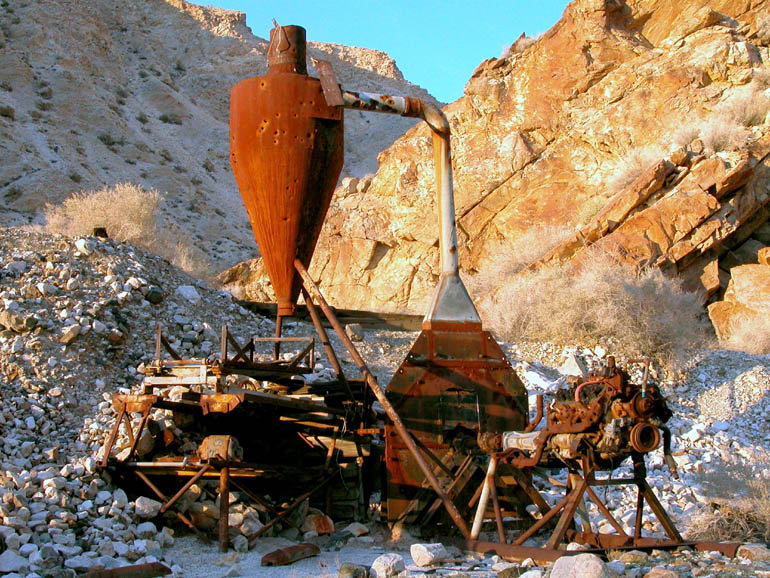 |
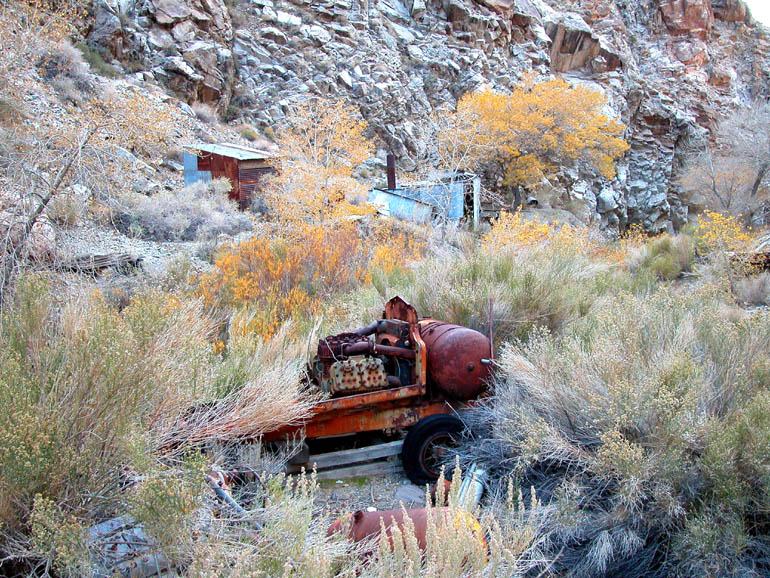
Also near road's end is this ore crusher that was used in the later years of the mine's history. | |||
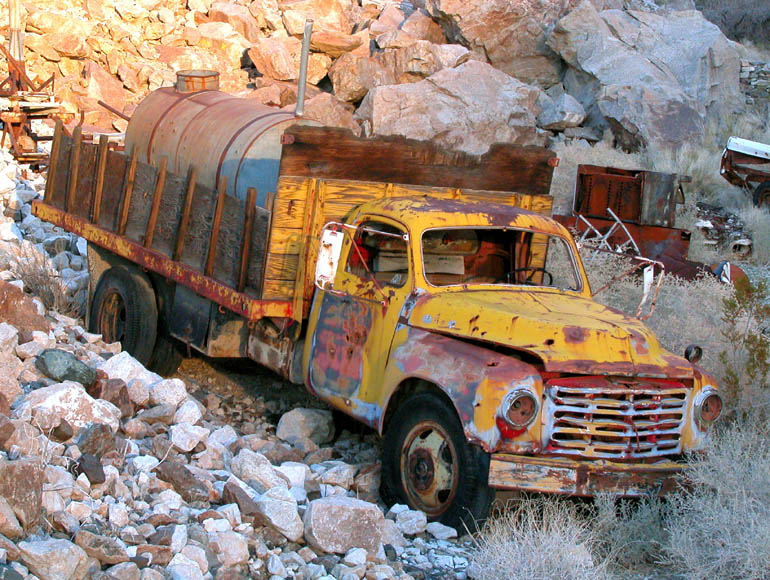 |
This old gem is a rare early 1950s era Studebaker truck that was most likely used to haul fuel to the mine site. There are other artifacts scattered around this area, too. | |||
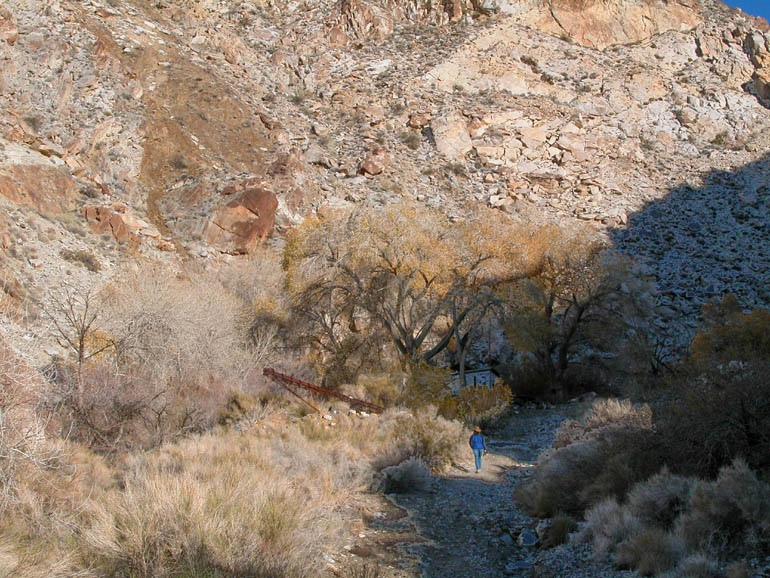 |
From the road's end, it is a short hike to one of the still-standing cabins. | |||
 |
Looking down Jail Canyon from near the cabin. | |||
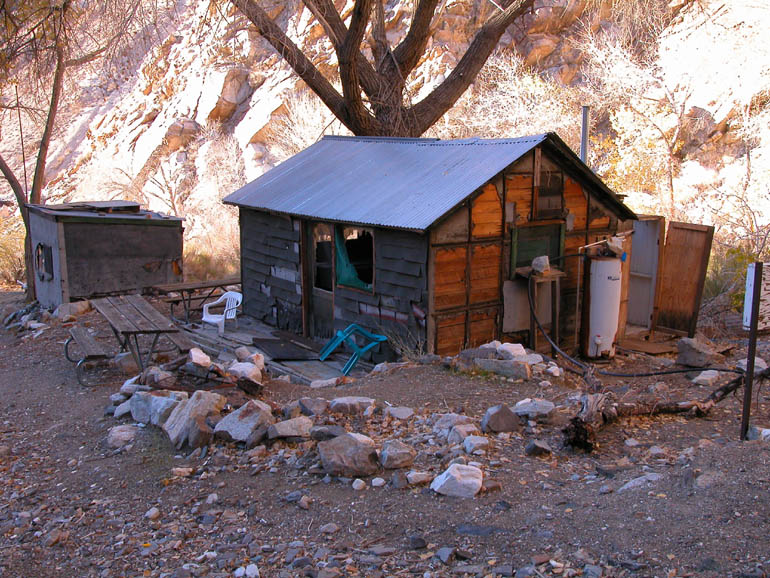 |
One of the in-tact cabins found just before entering the marshy area. | |||
 |
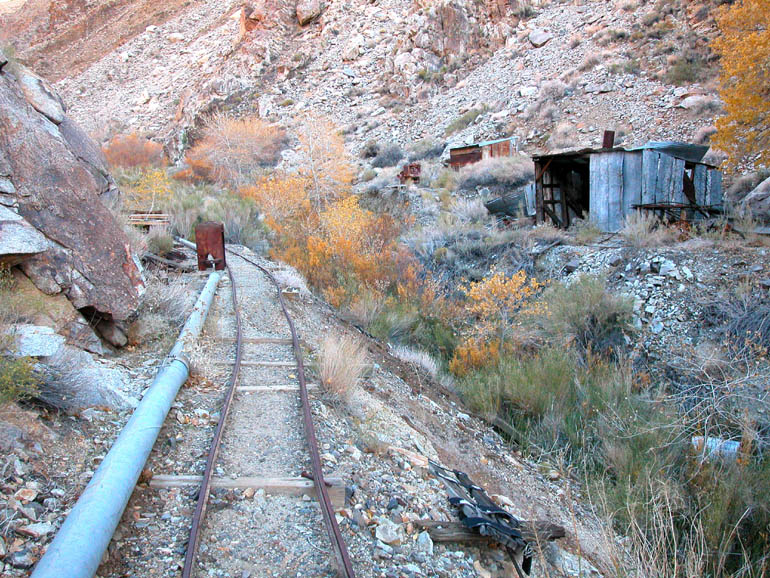
Looking up the canyon from the cabin. The outhouse is on the right in the distance. | |||
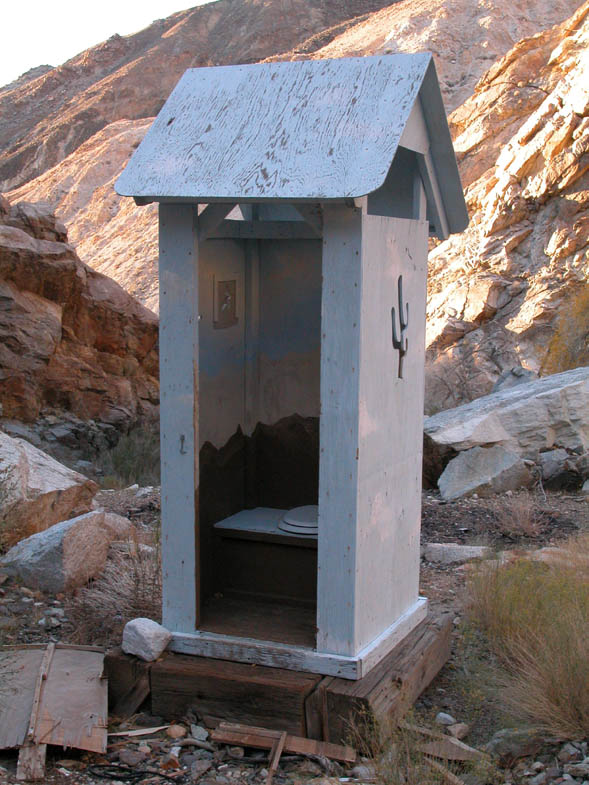 |
The outhouse is a short distance from the cabin in the previous picture. The structure looked fairly new and it even had a new toilet seat. | |||
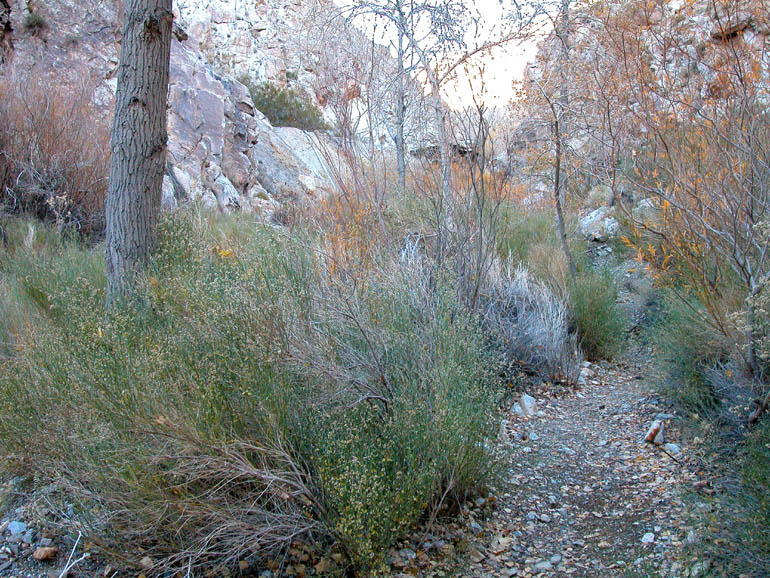 |
Walking through the vegetation between the cabin and the mill and mine site. | |||
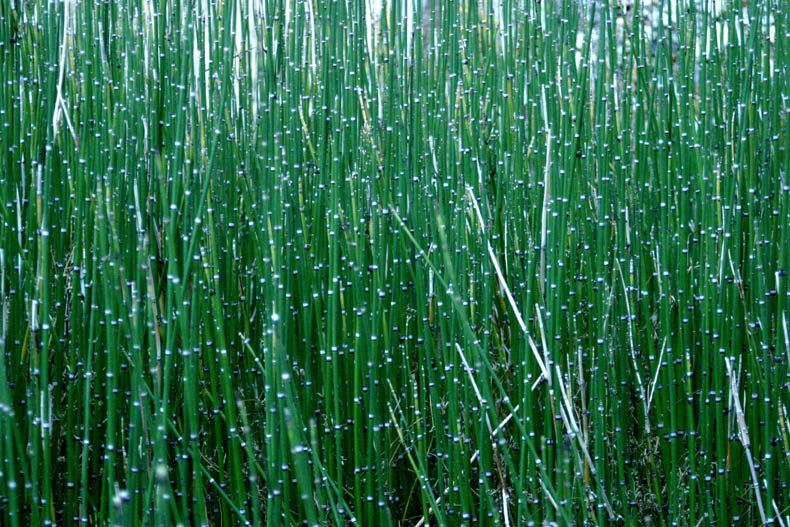 |
A thick stand of reeds along side the short trail. | |||
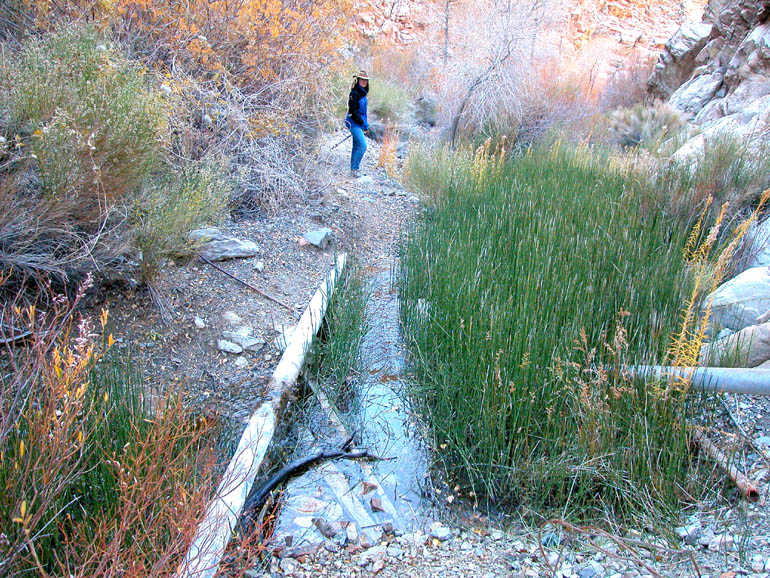 |
The trial does cross the stream at one spot. Depending on what time of year you visit, this spot may have more or less water flowing. | |||
 |
To get to the mill, climb up the left side of this ore bin. There are more cabins on the right side of the canyon. | |||
 |
A closer look at the ore bin. | |||
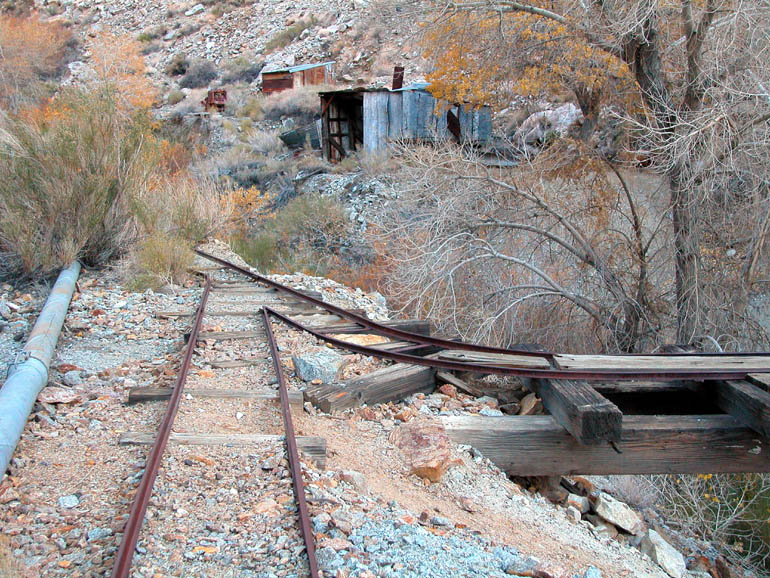 |
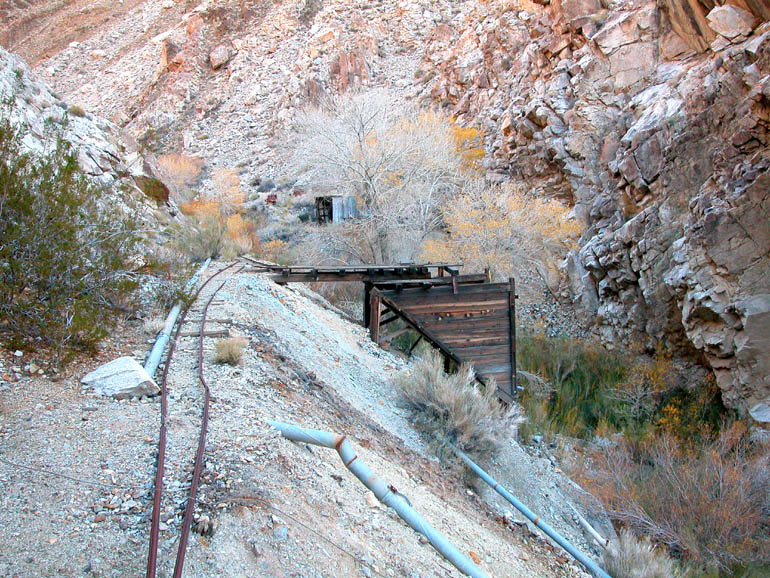
At this junction, the ore cars could either dump their load into the ore bin or go further down canyon and dump into an open pit. | |||
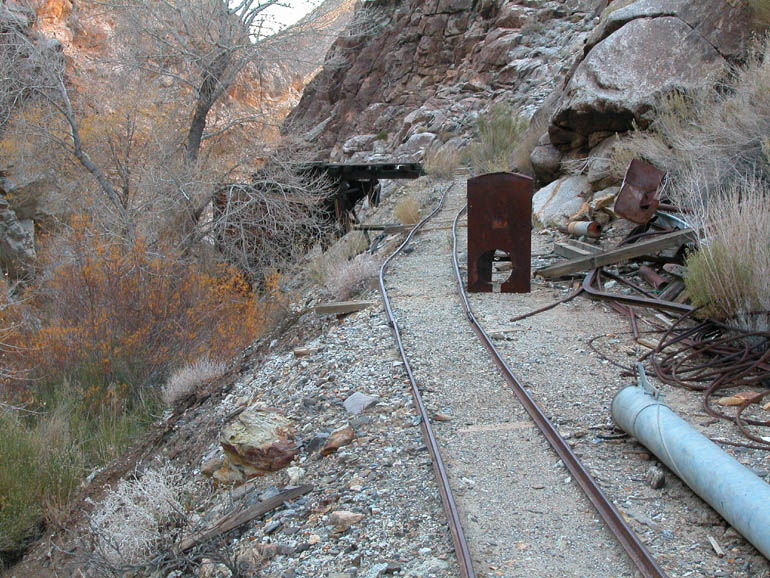 |
Looking back, down-canyon at the ore bin. | |||
 |
The stream runs between the tracks and the structures on the right (south) side of the canyon. Wonder where the track go? | |||
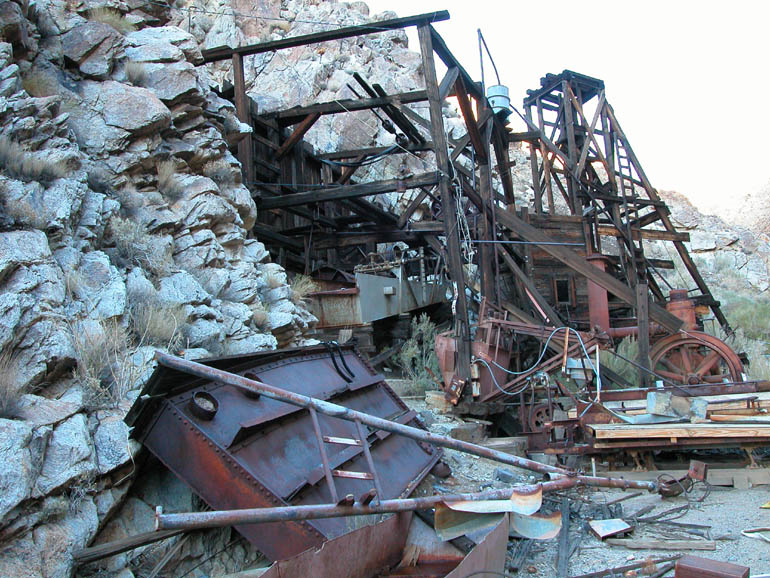 |
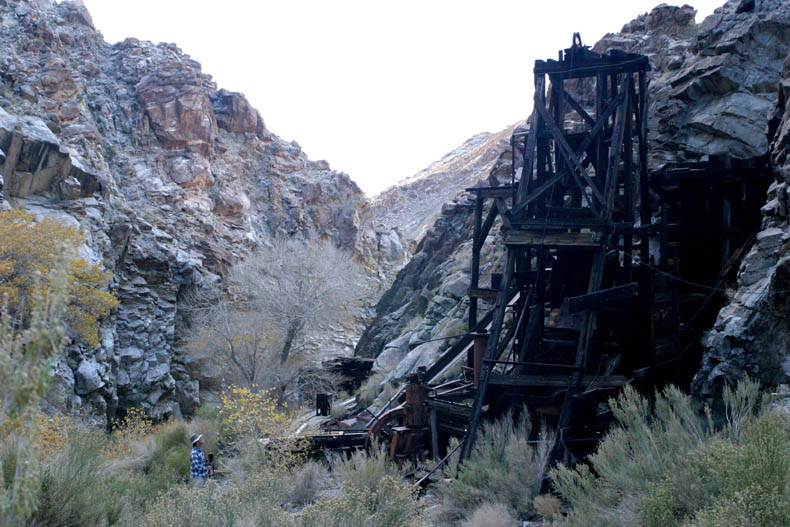
As you round the corner, you will have your answer - a very complex milling operation. | |||
 |
Another view of the magnificent ruins of the Corona Mine mill. There is a lot of stuff to look over here and some may be tempted to take a little souvenir home. Please preserve this sight as it is for the next explorer who comes along - just as it was left for you to find by those who came before you. | |||
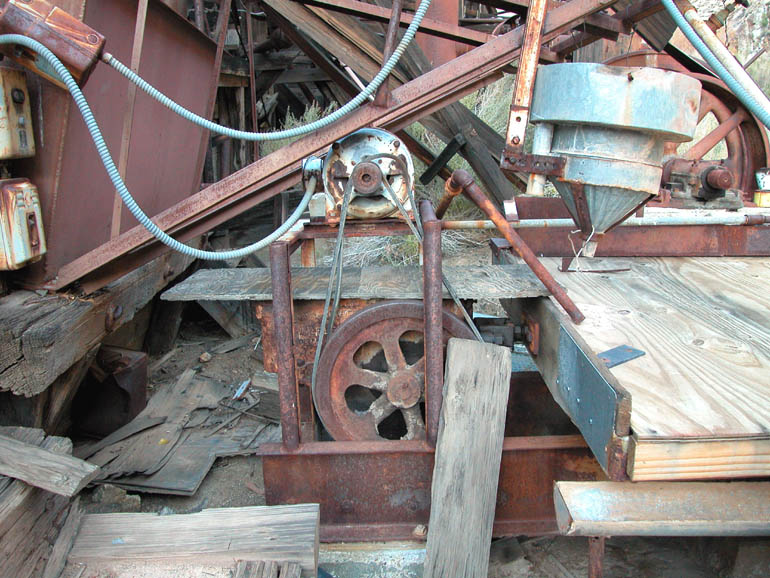 |
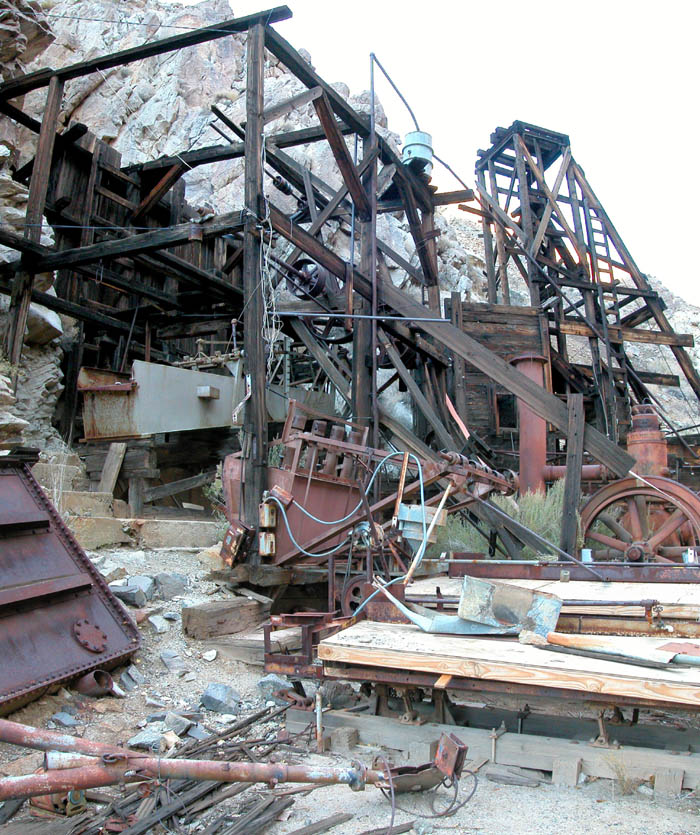
You can easily see that the mill was upgraded with electronics of the mid 20th century. Water power has probably not used here for quite a while. | |||
 |
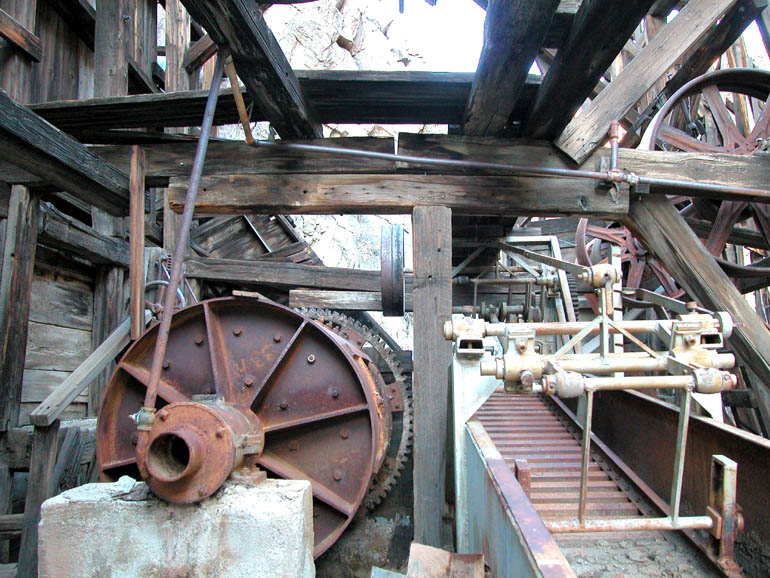
There are gears and belt wheels everywhere! | |||
 |
More of the inside of the mill. Notice the ore processing chute on the right. | |||
 |
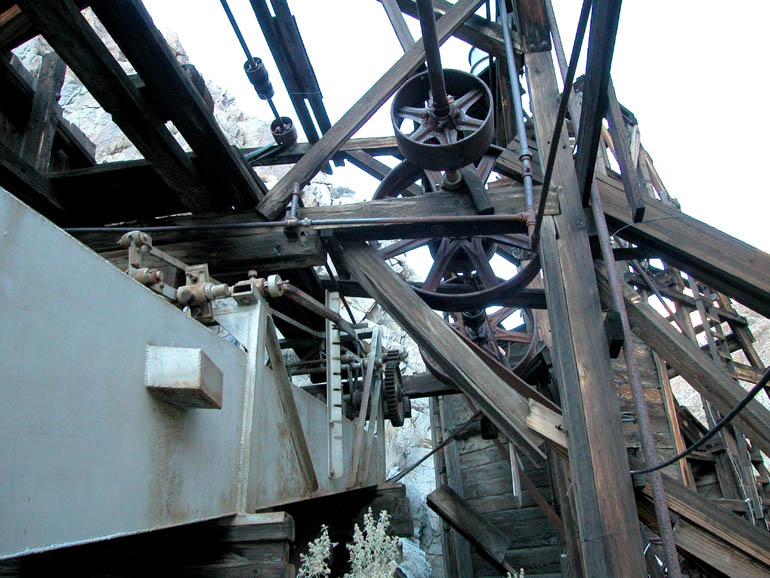
It is difficult to imagine how the whole mill operated. | |||
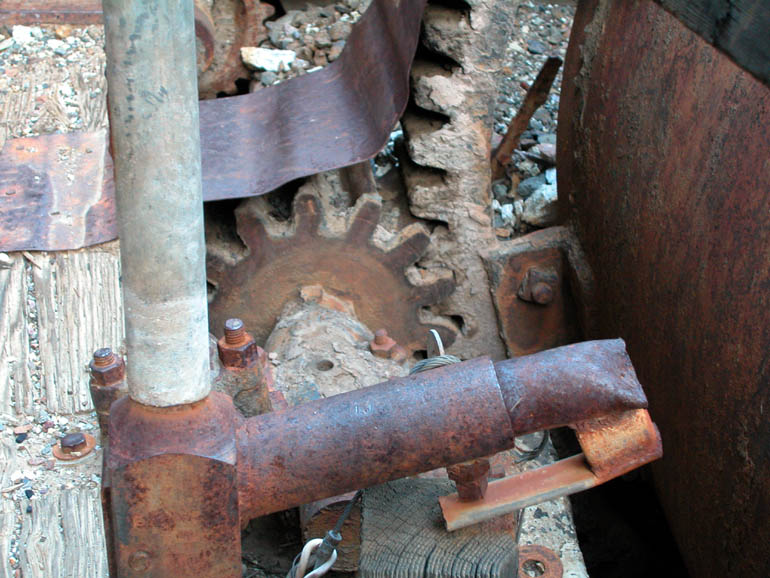 |
Two interlocking and corroded gears. | |||
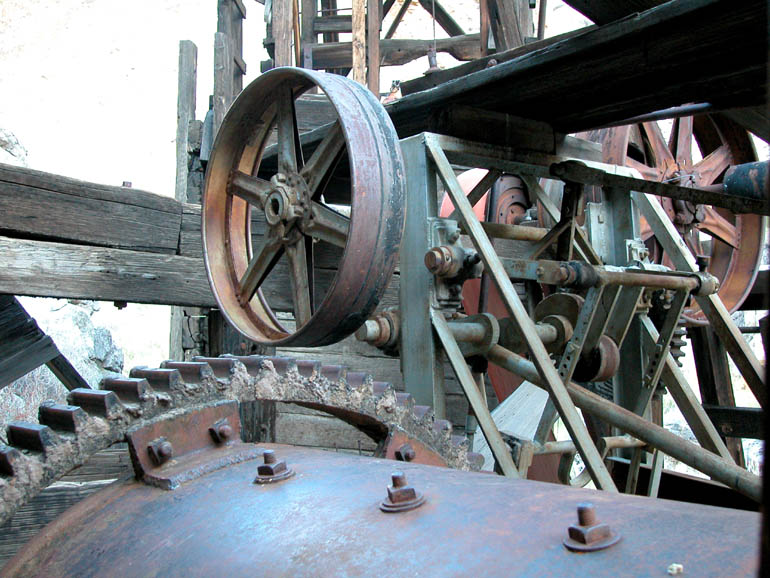 |
More of inside the mill. | |||
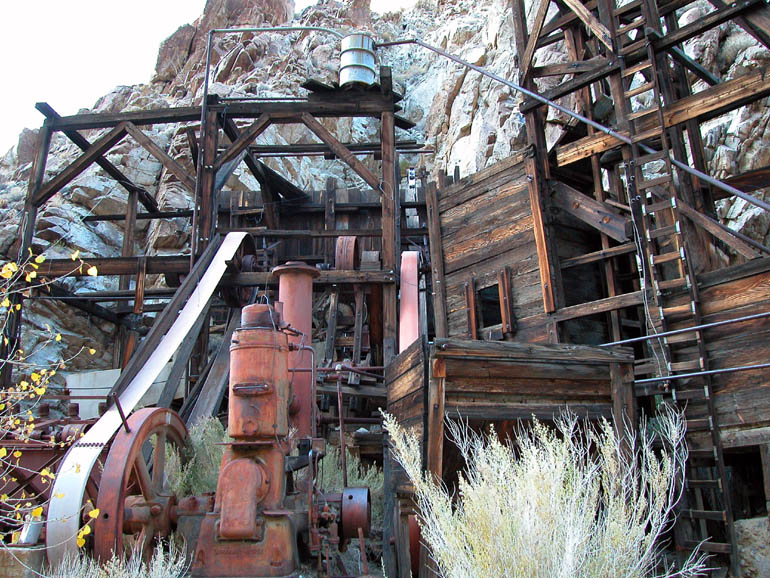 |
Looking at the mill straight on. With all the tanks and plumbing, some might thing that it looks more like a place where bootleg liquor was made instead of being a mill that processed ore. | |||
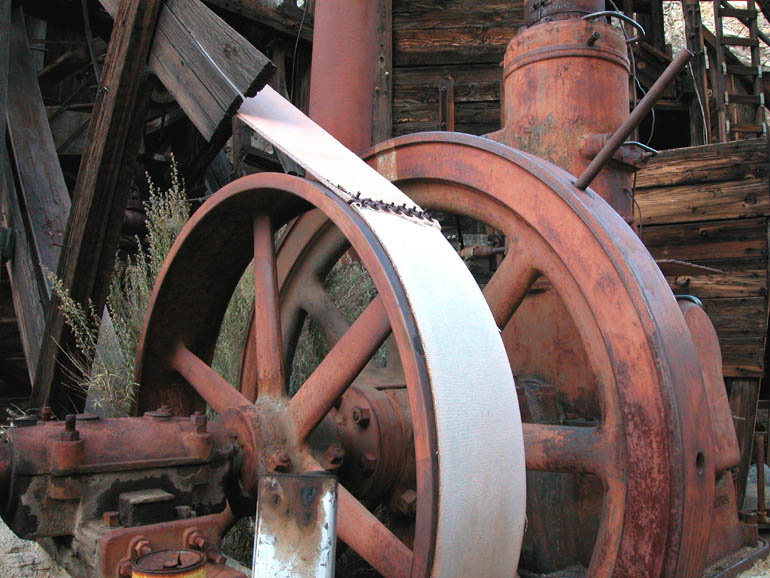 |
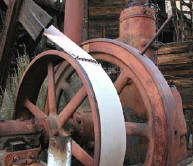
The main power wheel that was turned by some type of steam or diesel powered engine. | |||
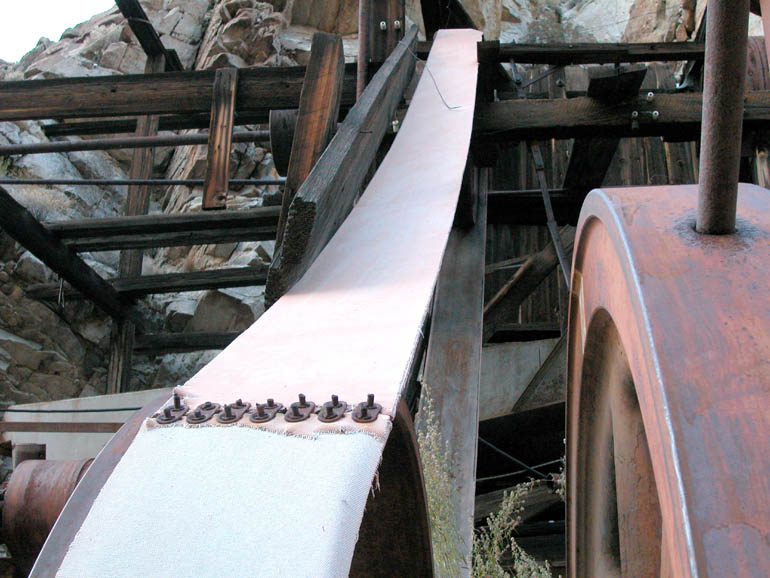 |
This large belt was still in tact and was used to transfer power to the wheels above. | |||
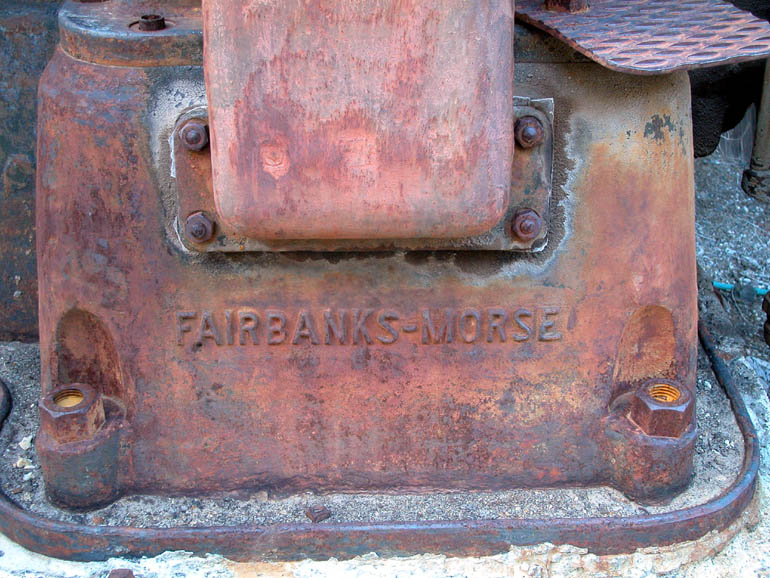 |
Fairbanks-Morse is stamped on the bottom part of the large engine. | |||
 |
This set of gears and levers is just beyond the mill site and was most likely used with an aerial tramway. A similar apparatus is located at the top of the Keene Wonder Mine tramway. | |||
 |
Looking down-canyon at the mill site. | |||
 |
Hiking past the mill, you'll find some other machinery. | |||
 |
Here is a small 4-cylinder engine. | |||
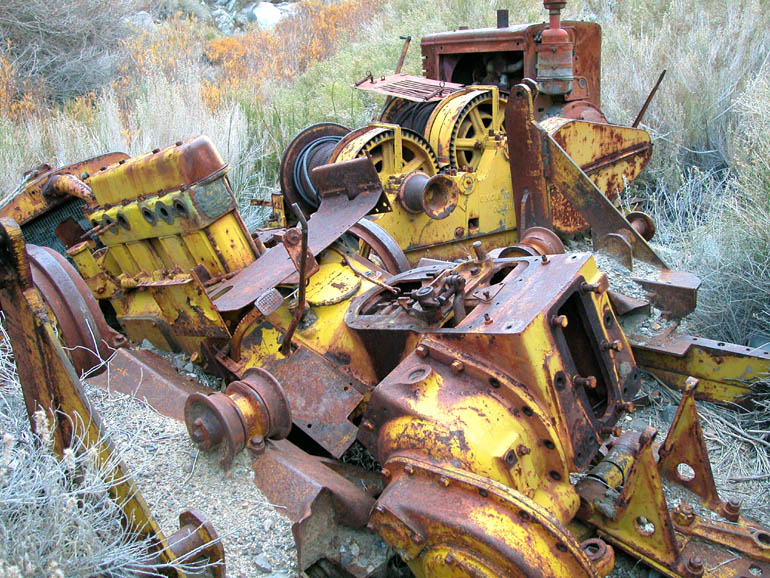 |
In the foreground is an old, dilapidated bulldozer and in the background is possibly another aerial tramway cable wheel. | |||
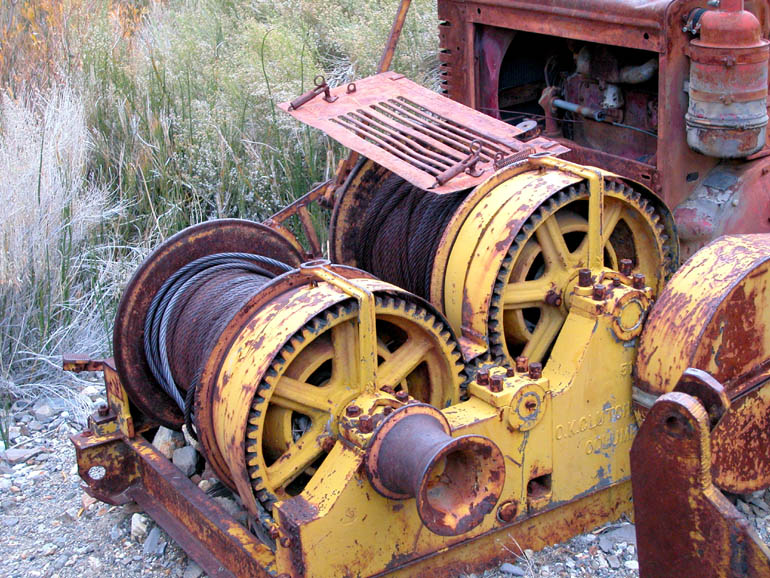 |
A closer look at the cable wheel. | |||
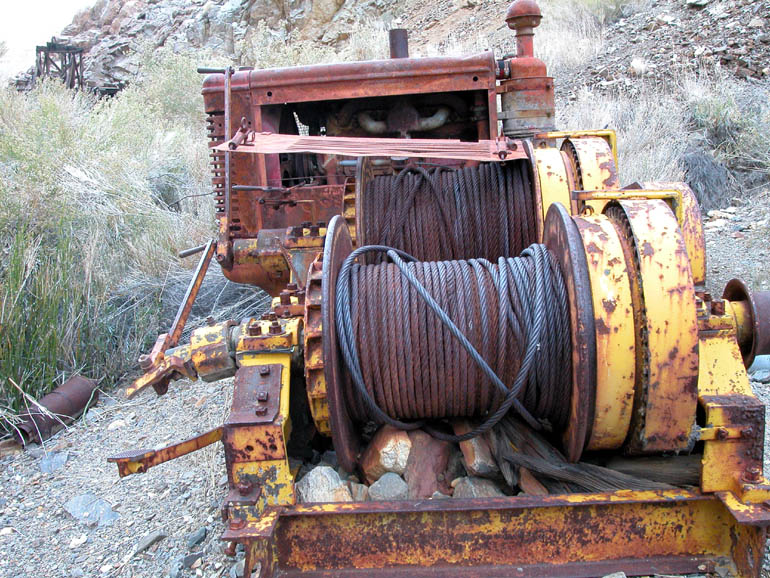 |
Another view of the cables with another engine in back of it. | |||
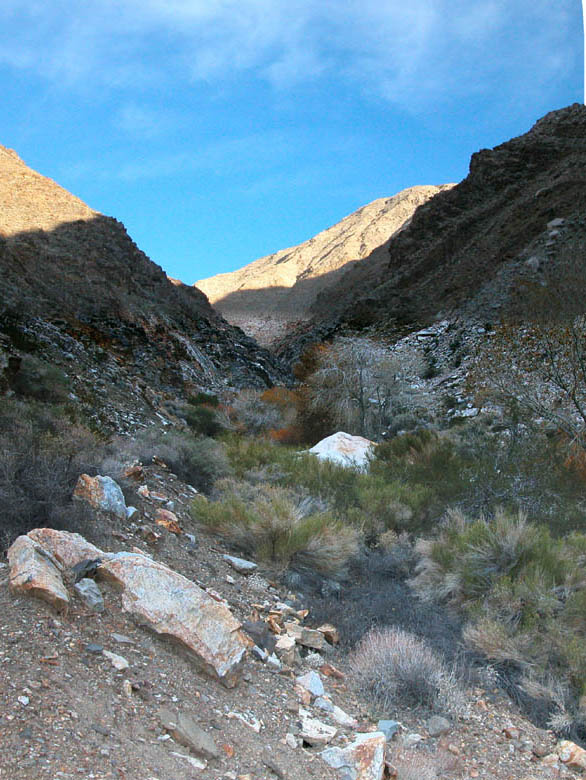 |
View looking up Jail Canyon, past the mill site. There is no obvious trail, but you could easily hike further through the vegetation. The spring that powered the old waterwheel is about a mile up the canyon. |

Back to Photo Tour or Back to top of page
Trip Log
Because navigation of this road is not difficult and there are no
major attractions on the way to the Corona Mine, there is no Trip Log for this
Road Trip. Please read Getting There above
for detailed directions.
Back to Sample Trips
Last updated November 06, 2011.